


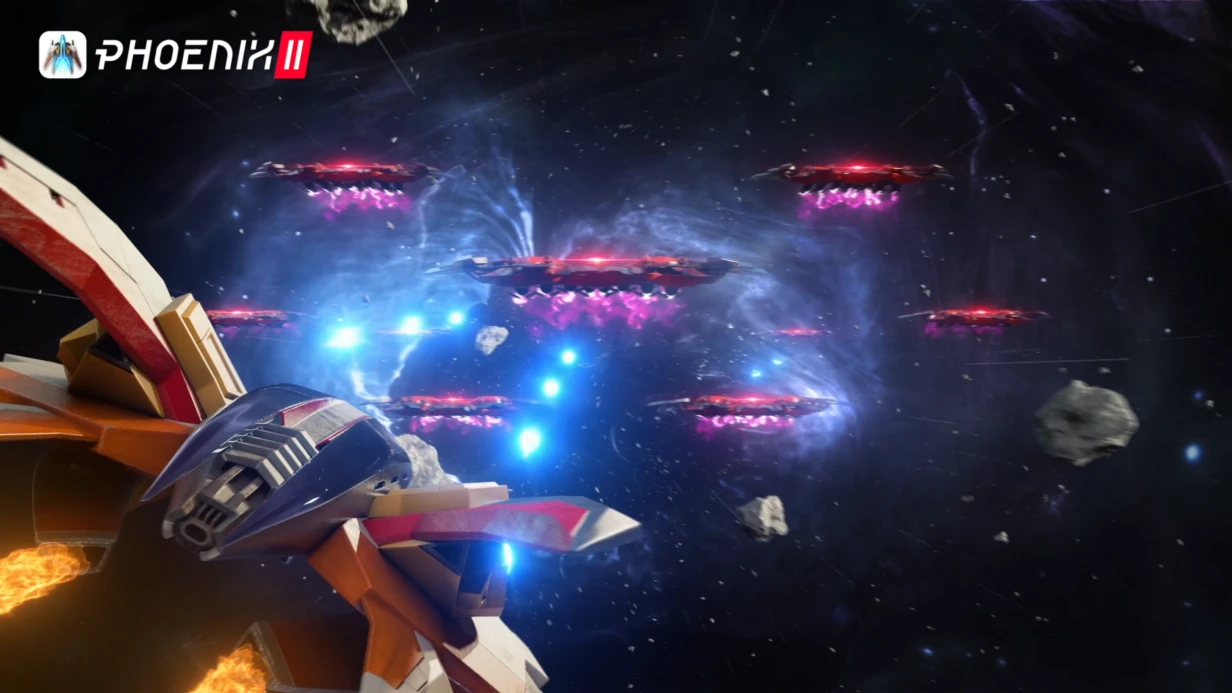
Marketing Screenshot and Video Rendering
Gameplay screenshot from Editor Preview and marketing render — two different images, even if same frame. Difference: first limited by real-time settings for target hardware, second — not. Properly set promo scene with ray tracing, verified lighting, and cinematic post-processing can show game many times better while remaining honest reflection of visual style.
Technical rendering stack in Unity
For marketing render switch project to HDRP, even if release build uses URP or Built-in. HDRP gives Path Tracing (component HDRenderPipeline in FrameSettings), Area Lights, Screen Space Global Illumination, and proper camera model with physical parameters (f-stop, ISO, shutter speed).
Promo scene built separately: load needed characters and environment, configure HDRI Skybox via Volume with PhysicallyBasedSky or 8K+ Skybox texture, place HDAdditionalLightData with LightUnit.Lux instead arbitrary intensity values.
Path Tracing in HDRP — not for real-time. One frame at Maximum Samples = 4096 and 4K resolution on RTX 4080 takes 3–8 minutes. For screenshot series normal. For video — no.
For video use render with Temporal Antialiasing and maximum Accumulation Motion Blur via Recorder package in Movie Recorder mode. Export to ProRes 4444 for post color correction — not H.264 directly.
Setting up cinematic camera
Cinemachine Virtual Camera with CinemachineFreeLook or fixed CinemachineVirtualCamera on Dolly Track. Physical parameters: Focal Length 85mm for character portraits (minimizes perspective distortion), 35mm for wide shots.
Depth of Field in HDRP: Physically Based mode, Aperture 1.4–2.8 for bokeh effect on foreground — standard for RPG and action promo. For UI-heavy games (strategies, sims) — deep DoF or off.
Promo animation: custom animation clips via Timeline. Standard gameplay animations often too sharp or short for promo — create separate, slower versions via Animator Override Controller.
Post-processing in promo
Color Grading via LUT (Look-Up Table) — capture LUT from reference of needed mood. In HDRP Volume: Tonemapping in ACES mode (cinema standard), then Color Curves for fine-tuning specific tones.
Bloom with Lens Dirt Texture — works subtle, not like 2010s shooters. Motion Blur with Sample Count 32 — for dynamic video frames. Chromatic Aberration with intensity 0.1–0.2 — adds camera authenticity without kitsch.
Rendering for stores with proper technical requirements
App Store accepts JPEG and PNG, maximum resolution for iPhone 15 Pro Max — 1320×2868 px. Render at 4× needed resolution → downscale in Photoshop with Bicubic Sharper — get sharpest image without aliasing.
Google Play Feature Graphic 1024×500 — wide format cropped to center square in some displays. Render version 2048×1000, keep key elements in center third.
Render timelines
| Task | Timeline |
|---|---|
| Screenshot series (5–10 frames, one scene) | 2–4 days |
| Promo scene from scratch + screenshots | 5–10 days |
| 30-second video render (animation + post) | 1–2 weeks |
| Full marketing package (screenshots + video + formats) | 2–4 weeks |
Cost calculated after assessing scene complexity and ready asset availability.