


Developing Tutorial Level for Mobile Games
First 60 seconds in game determine whether user stays or uninstalls. Per Sensor Tower data, 70% mobile games lose user in first session—most of these losses happen during tutorial or right after. Either explains too much or too little.
Architectural Solutions
Tutorial in mobile game—separate context with own state, progression logic, and trigger system. Implementing as flags isTutorialStep1Completed, isTutorialStep2Completed in GameManager—path to spaghetti code, untestable and hard to change without code modification.
State machine for tutorial. Each step—state with transition condition. Condition can be: tap in zone, game action execution, timer expiration, or combination. On Unity—StateMachineBehaviour or custom TutorialStateMachine with ScriptableObject configuration per step. On SpriteKit/iOS—finite automaton via GKStateMachine from GameplayKit. Colin Mouchoux proposed good pattern: TutorialStep as protocol with activate(), validate() -> Bool, deactivate() methods—provides testability of each step in isolation.
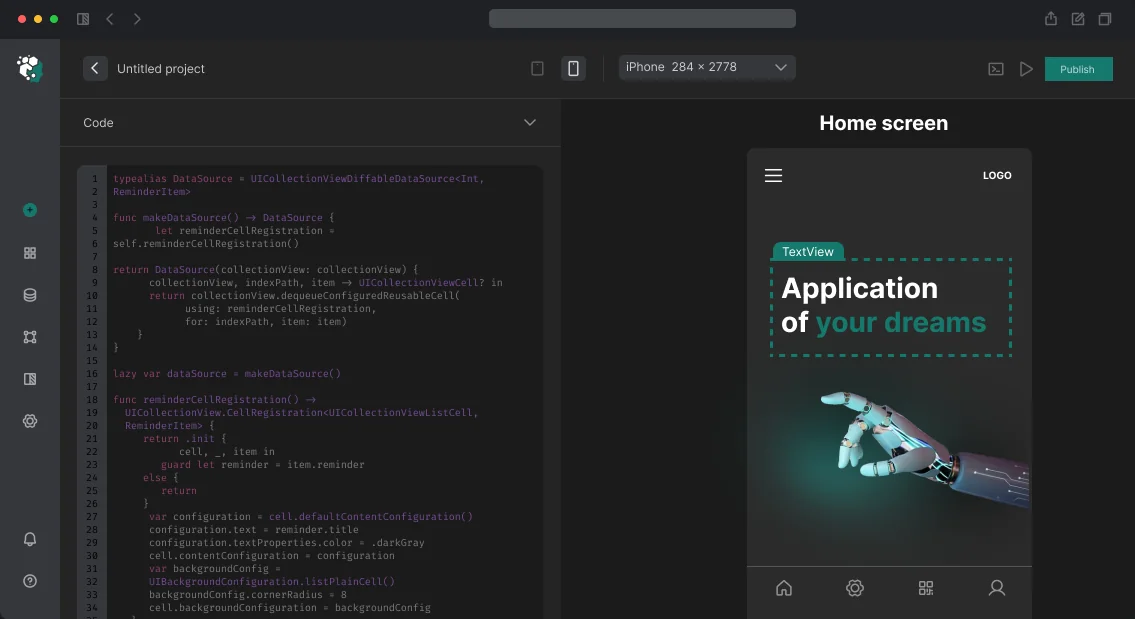
Configuration from data, not code. If each tutorial step—JSON/ScriptableObject with text, highlight position, action type—designer can change tutorial without developer involvement. In Unity: TutorialConfig : ScriptableObject with serializable TutorialStepData[]. Versioned in git with other assets.
Highlight and Masking System
Most technically complex part of tutorial—highlighting specific UI element with darkened rest of screen.
In Unity UI (uGUI) classic approach: Canvas with sorting order above game UI, semi-transparent overlay with cut "window" above needed element. Cut made via RectMask2D or custom Image with shader drawing rectangle/oval with alpha channel. More flexible variant—UI Toolkit (USS + UXML) with dynamically generated VisualElement overlay.
Problem: with resolution or orientation change, highlight zone coordinates must be recalculated. Anchor-based system in Unity helps, but with custom highlight shapes need to listen Screen.orientation and recalculate bounds manually. On SpriteKit—SKCropNode with mask from SKShapeNode.
Pointer arrow. Animated arrow to target element—SKAction.sequence with moveBy and wait, or in Unity—DOTween with Sequence. Arrow should always point at target, even if target animates—update rotation each frame in Update() / SKScene.update(_:).
Forced vs Adaptive Progression
Two polar approaches:
Forced tutorial—can't skip, can't click elsewhere. Works for casual games with simple mechanics. Implemented by blocking input except target zone: in Unity—EventSystem with custom IPointerClickHandler on overlay, passing events only through "window".
Contextual hints—tutorial appears as needed. First time you see bow—hint appears how to shoot. Requires trigger system: TutorialTrigger component on game objects, on activation sends event to TutorialManager. On iOS without Unity—NotificationCenter or Combine pipeline.
For most mid-core games optimal is hybrid: first 2–3 steps forced (basic mechanics), then contextual hints as new systems unlock.
Progress Persistence
Tutorial progress must survive app restart. On iOS—UserDefaults for simple flags, CoreData or JSON file if many steps with detailed data. In Unity—PlayerPrefs (cautiously: don't use for sensitive data) or custom SaveSystem with JSON serialization via JsonUtility.
If game has cloud saves (Game Center, Google Play Games, iCloud)—tutorial status should sync. Otherwise user restoring game on new device replays tutorial.
Skip Button
Should users skip? For simple games—yes, experienced users get frustrated by forced tutorial. Implement skipButton with 3–5 second delay—user sees tutorial but can skip. Log skips: if 40% skip at step 2—step 2 either unclear or too obvious.
Timeline: 3 to 5 days. Simple tutorial of 3–5 forced steps—3 days. System with contextual triggers, data-driven configuration, custom highlight effects and step-by-step completion analytics—5 days.