

Developing a Mega Menu with Category Icons for 1C-Bitrix
Category icons in a mega menu solve the navigation task faster than text: the eye recognizes a laptop pictogram more quickly than it reads the word "Laptops." For stores with a large number of categories — electronics, home goods, DIY — this is the standard. Implementation in 1C-Bitrix requires an icon field on infoblock sections and correct rendering in the template.
Storing Section Icons
Two approaches:
1. SVG sprite + icon code. A custom field UF_ICON_CODE (string type) on the infoblock section stores the icon identifier: icon-laptop, icon-phone, icon-furniture. The SVG sprite is connected once in the template; icons are rendered via <use href="#icon-laptop">. Page weight is minimal.
2. SVG/PNG file. A custom field UF_MENU_ICON (file type) — upload SVG directly through the admin panel. The manager sees what they are uploading. Drawback: multiple HTTP requests per page (or inline via base64).
For large stores, the SVG sprite is recommended: all icons in a single file, no additional requests.
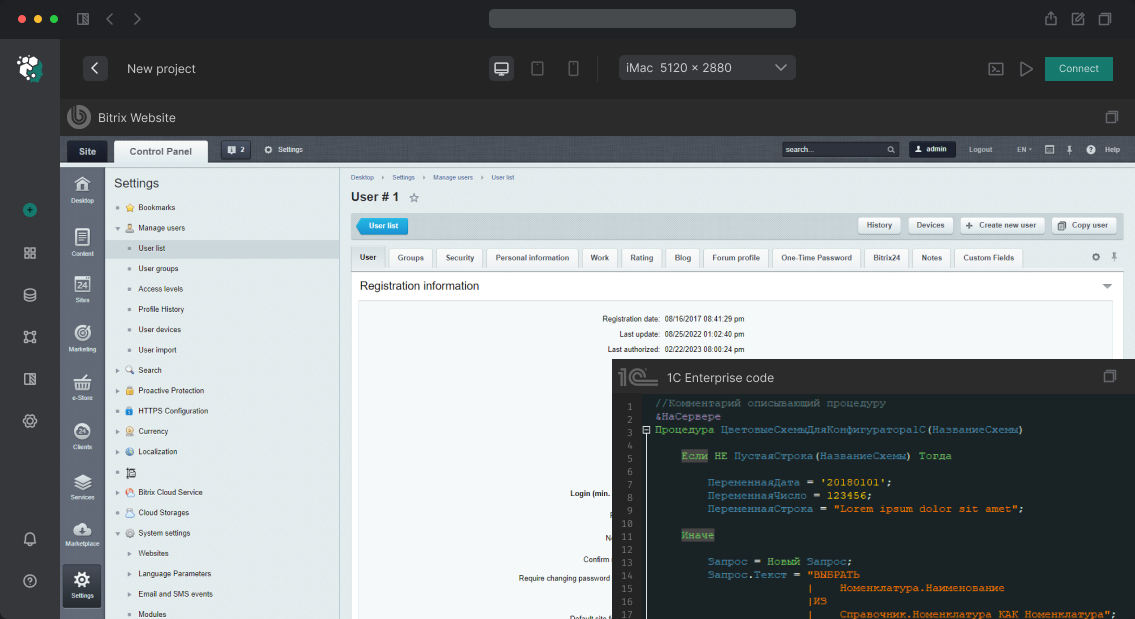
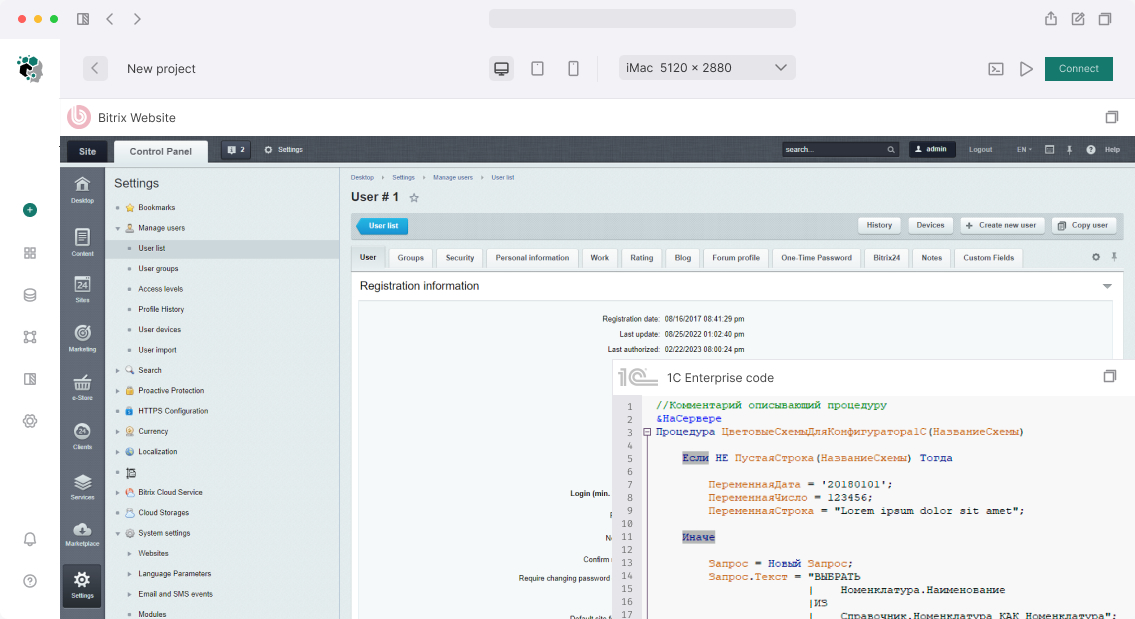
Adding a Custom Field to Sections
// /local/lib/Install/InstallMenuIcons.php
\CUserTypeEntity::Add([
    'ENTITY_ID'  => 'IBLOCK_' . CATALOG_IBLOCK_ID . '_SECTION',
    'FIELD_NAME' => 'UF_ICON_CODE',
    'USER_TYPE_ID' => 'string',
    'SORT'       => 100,
    'MULTIPLE'   => 'N',
    'MANDATORY'  => 'N',
    'EDIT_FORM_LABEL' => ['ru' => 'Код иконки (для мегаменю)', 'en' => 'Icon code'],
]);
SVG Sprite
The sprite is assembled from the design system or loaded from iconify/heroicons. It is included before </body> in the template as a hidden block:
<svg xmlns="http://www.w3.org/2000/svg" style="display:none">
    <symbol id="icon-laptop" viewBox="0 0 24 24">
        <path d="M4 6a2 2 0 0 1 2-2h12a2 2 0 0 1 2 2v7H4V6Z"/>
        <path d="M2 17h20v1a1 1 0 0 1-1 1H3a1 1 0 0 1-1-1v-1Z"/>
    </symbol>
    <symbol id="icon-smartphone" viewBox="0 0 24 24">
        <rect x="5" y="2" width="14" height="20" rx="2"/>
        <path d="M12 18h.01"/>
    </symbol>
    <!-- ... remaining icons ... -->
</svg>
Rendering the Icon in the Template
// In result_modifier.php or directly in the template
function renderMenuIcon(string $iconCode): string
{
    if (empty($iconCode)) return '';

    // Sanitize: only allowed characters
    $safe = preg_replace('/[^a-z0-9\-]/', '', strtolower($iconCode));
    if (!$safe) return '';

    return sprintf(
        '<svg class="megamenu__icon" aria-hidden="true" width="24" height="24">'
        . '<use href="#%s"></use></svg>',
        htmlspecialchars('icon-' . $safe)
    );
}
Mega Menu Template with Icons
// Load sections with the UF_ICON_CODE custom field
$res = \CIBlockSection::GetList(
    ['LEFT_MARGIN' => 'ASC'],
    ['IBLOCK_ID' => CATALOG_IBLOCK_ID, 'ACTIVE' => 'Y', 'DEPTH_LEVEL' => [1, 2]],
    false,
    ['ID', 'NAME', 'CODE', 'SECTION_PAGE_URL', 'DEPTH_LEVEL',
     'IBLOCK_SECTION_ID', 'UF_ICON_CODE', 'UF_MENU_ICON']
);
<!-- In the template: first-level category -->
<a href="<?= htmlspecialchars($category['SECTION_PAGE_URL']) ?>"
   class="megamenu__link">
    <?php if ($category['UF_ICON_CODE']): ?>
        <?= renderMenuIcon($category['UF_ICON_CODE']) ?>
    <?php elseif ($category['UF_MENU_ICON']): ?>
        <img src="<?= \CFile::GetPath($category['UF_MENU_ICON']) ?>"
             alt="" class="megamenu__icon" width="24" height="24" loading="lazy">
    <?php endif ?>
    <span class="megamenu__link-text"><?= htmlspecialchars($category['NAME']) ?></span>
</a>
CSS for Mega Menu Icons
.megamenu__link {
    display: flex;
    align-items: center;
    gap: 0.625rem;
    padding: 0.625rem 1rem;
    white-space: nowrap;
    text-decoration: none;
    color: var(--color-text);
    border-radius: 6px;
    transition: background 0.15s, color 0.15s;
}

.megamenu__link:hover,
.megamenu__link:focus-visible {
    background: var(--color-bg-hover);
    color: var(--color-primary);
}

.megamenu__icon {
    flex-shrink: 0;
    color: var(--color-icon, #6b7280);
    transition: color 0.15s;
}

.megamenu__link:hover .megamenu__icon {
    color: var(--color-primary);
}

/* Larger icons for horizontal menu (tablet) */
@media (min-width: 768px) and (max-width: 1023px) {
    .megamenu__link--top-level {
        flex-direction: column;
        gap: 0.375rem;
        padding: 0.75rem 0.625rem;
        font-size: 0.8125rem;
        text-align: center;
    }

    .megamenu__link--top-level .megamenu__icon {
        width: 32px;
        height: 32px;
    }
}
Icons via CSS content (emoji alternative)
For a quick start without a design system — emoji as icons via CSS:
/* UF_ICON_CODE stores an emoji: 💻, 📱, 🪑 */
.megamenu__emoji-icon {
    font-size: 1.25rem;
    line-height: 1;
    flex-shrink: 0;
}
// In the template
if (mb_strlen($category['UF_ICON_CODE']) <= 2) {
    // Most likely an emoji
    echo '<span class="megamenu__emoji-icon" aria-hidden="true">'
       . htmlspecialchars($category['UF_ICON_CODE'])
       . '</span>';
}
Admin Interface for Editors
It is difficult for editors to enter icon codes manually. Add a hint to the admin panel — a reference of available icons with previews. Implemented via a custom user field type (UserTypeEntity) with a selection widget, or via documentation with screenshots of the sprite.
Implementation Timelines
| Configuration | Timeline |
|---|---|
SVG sprite + UF_ICON_CODE field + rendering |
2–3 days |
+ file-based icons via UF_MENU_ICON |
+1 day |
| + icon picker widget in the admin panel | +2–3 days |
| + icon hover animation | +0.5 day |